I eat something fermented/pickled at every meal typically. By far the most popular one that I make is spicy pickles.
As you start fermenting foods at home, they are a wonderful entry-level project. They are easy and don’t take much time or special equipment. It is also a very fun ferment that you can experiment with and try new flavor combinations easily.

Equipment:
- 1 Quart Jar or 2 Pint Jars (I use these)
- Lid or Lids
- Chef’s Knife or a similar large knife
- Fermenting Weights (Optional)
- Scale (Optional)Pickle Packer (Optional)
- Airlocks, vents, or Pickle Pipes (Optional)
-Links to the gear are at the bottom-

Ingredients:
There is one thing that is crucial about your salt!
The salt cannot be iodized, the iodine inhibits the growth of the lactobacillus (good bacteria) and you will essentially be rotting cucumbers. You also need to see if there are anti-caking agents added as well, you want 100% salt. Sea salt is good, especially Pink Himalayan, Redmond Real Salt, and canning and pickling salt are all good.
There is one thing that is important about your water!
The water should not be chlorinated, the chlorine inhibits the growth of the lactobacillus (good bacteria.) You can use spring water, well water, or distilled water. You can de-chlorinate the as well, by allowing it to sit uncovered overnight or boiling it for 15-20 minutes and allowing it to cool down.
You may notice that I said should and not cannot. This is because water with chlorine can be used, it just slows the fermentation down, especially at first and the texture of your pickles may suffer.
I am very frequently asked how much salt, by volume, per cup of water for different brine salinities. This is a difficult question to answer because – salt is so variable.
I have several types of salt in my kitchen, from very fine canning and pickling salt to very coarse sea salt. I weighed the salts in my kitchen and found that they weigh anywhere from 6 grams per tablespoon to 16 grams per tablespoon so that is a huge difference in the amount of salt you are adding. Fortunately, fermenting is pretty forgiving and you want the concentration to be anywhere from 3%-5% for fermenting your cucumbers.
The amount will affect the taste of the final product and it is really a matter of personal preference. If you don’t think they were salty enough, add more to your next batch.
If you don’t have scales, you can start with 1 1/4 tablespoons or 1 tablespoon and a teaspoon of salt per 2 cups of water and you will be somewhere in the ballpark of right.
-OR-

- 3%-5% Brine (Approximately 2 cups per jar)
- About 1 quart will work for 2 quart jars
- In each quart jar:
- Enough Cucumbers to fill your jar or jars. About 2 /2 lbs will yield 2 quarts. (Any type or size – Kirby cucumbers are the best if you can get them but most will work. I just cut the big ones down to size)
- 1 Jalapeno sliced
- 1 Sweet Baby Bell Pepper sliced
- 2 teaspoons Red Pepper Flakes (Approximately, I really just dump it in. It is to taste)
- 1-2 Bay Leaves (The tannins help keep them crisp)
- 1 Teaspoon Pickling Spice
- 1/2 teaspoon Celery Seed
- 1 Tablespoon Black Peppercorns
- 3 Cloves Garlic Cut in half
- 2-3 Sprigs Fresh Dill

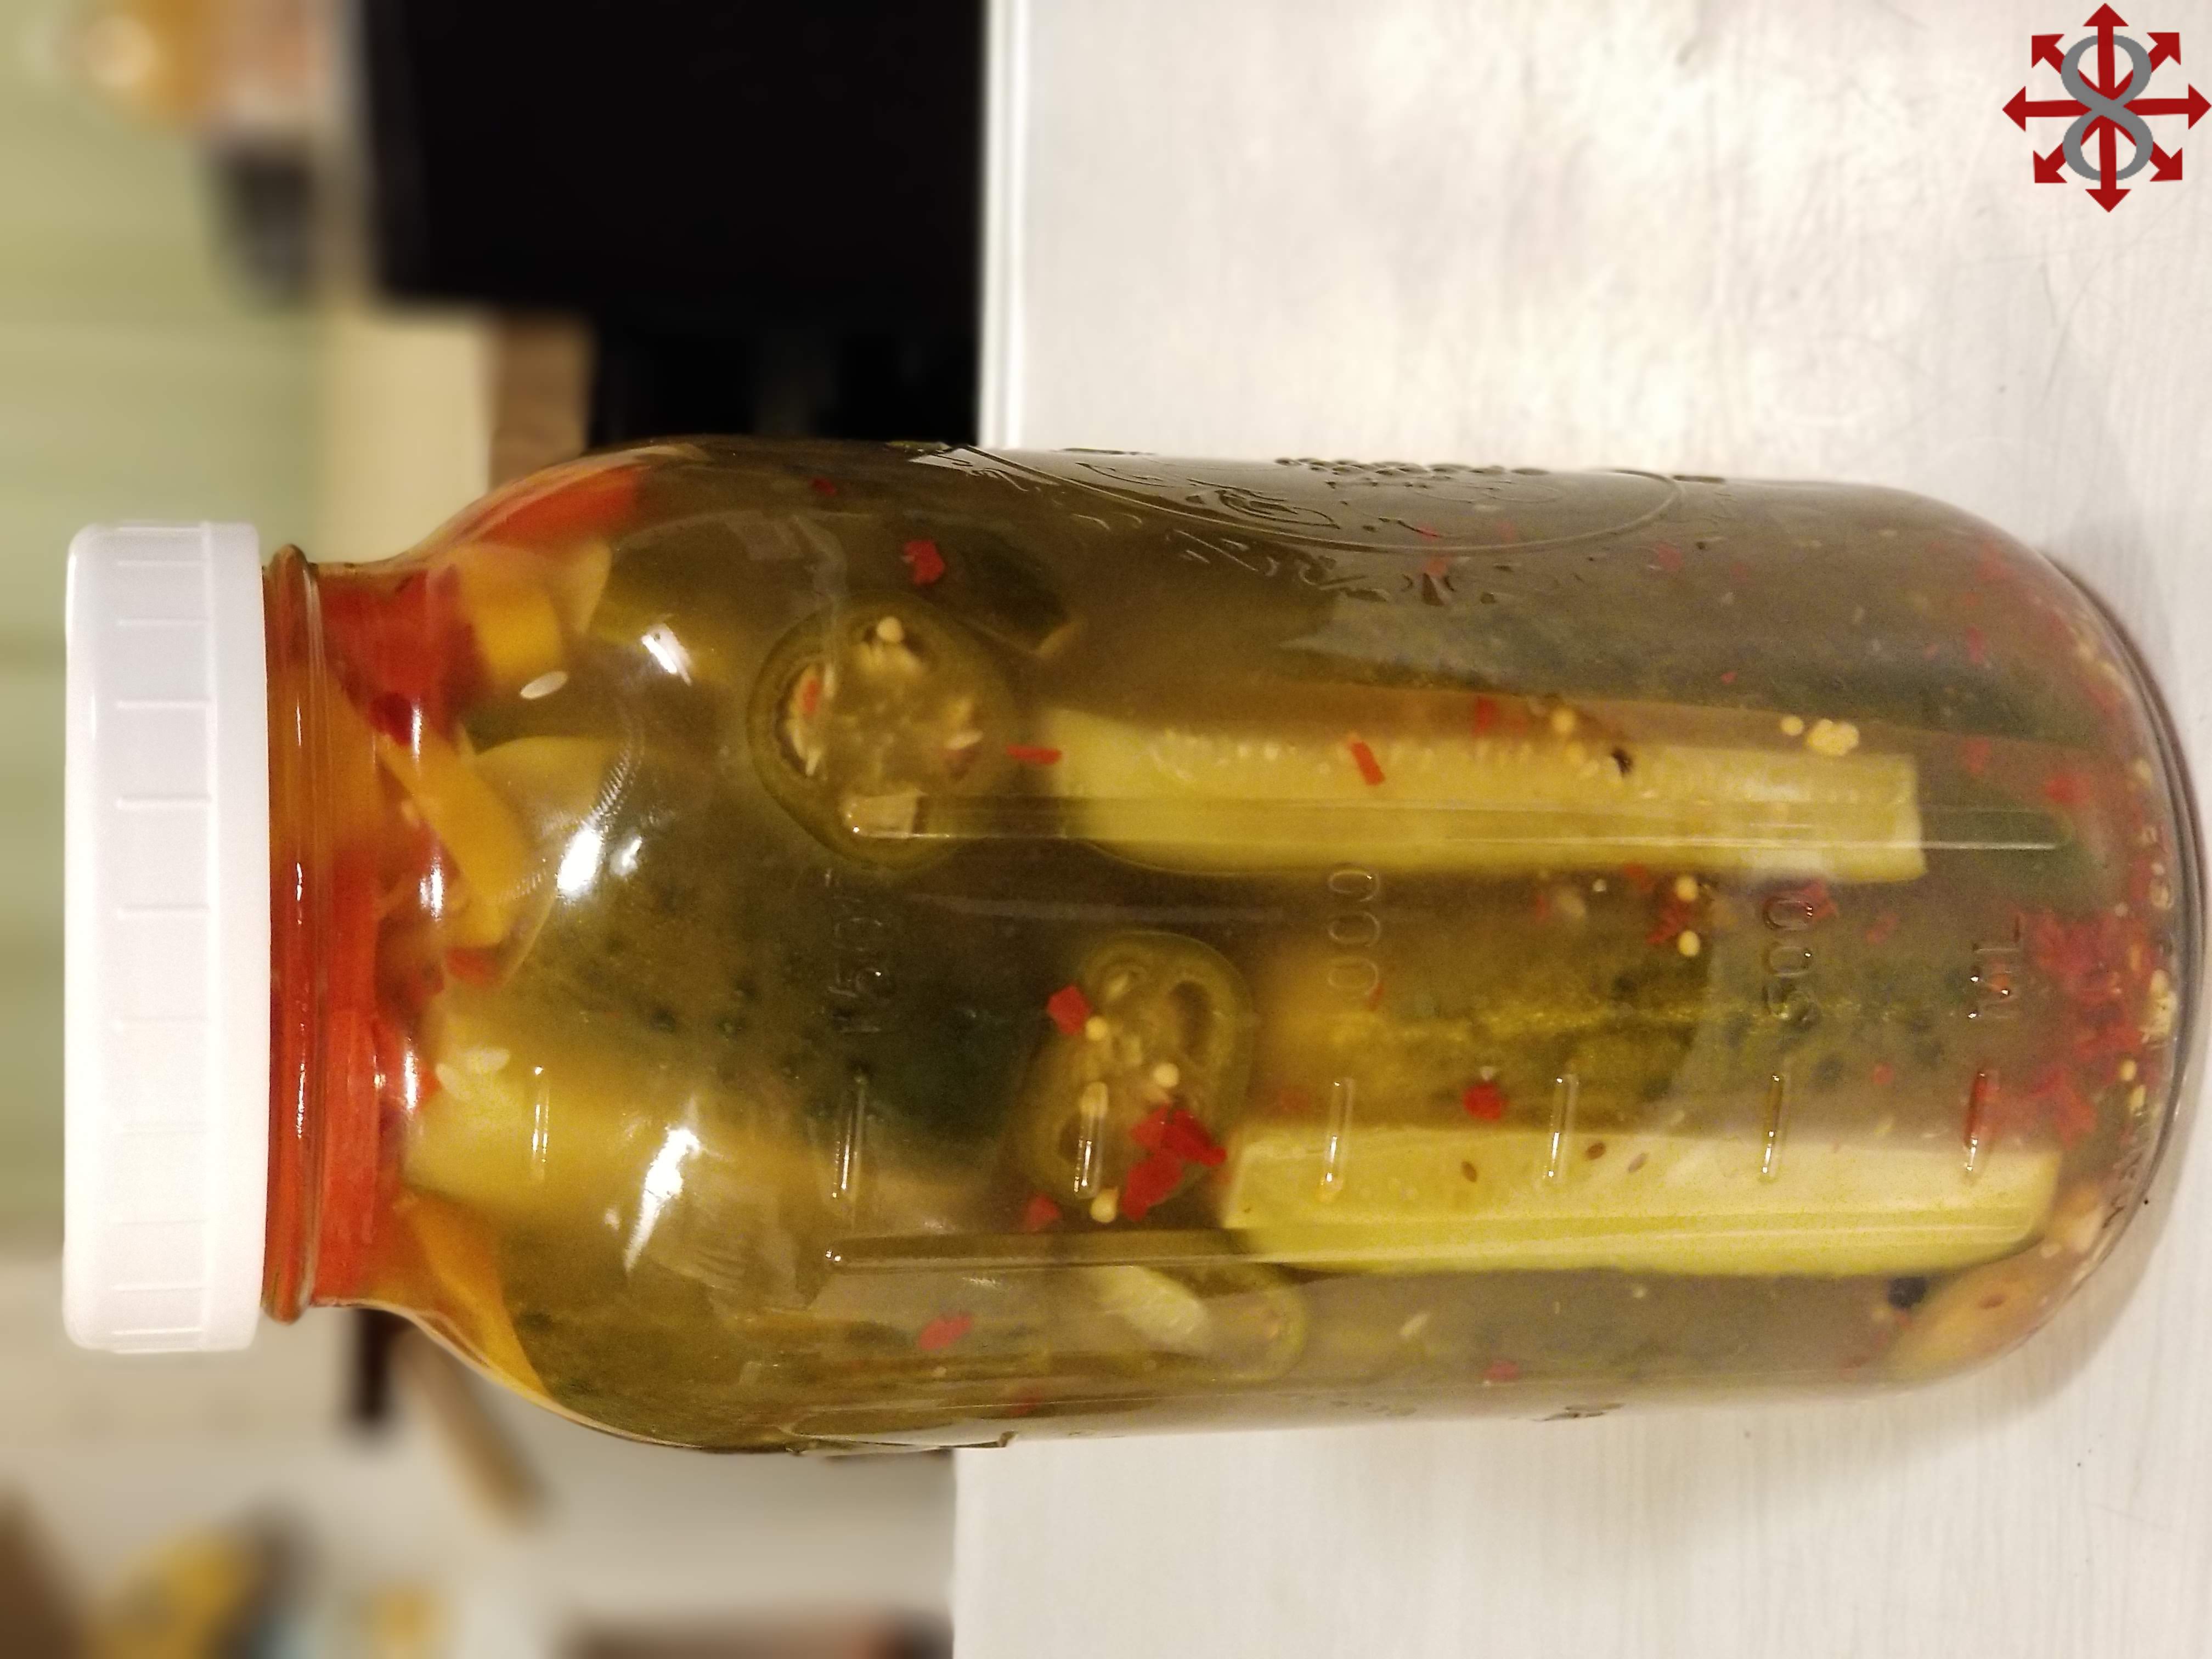
A spicy pickle and some peppers with a meal
Method:
- Wash you cucumbers in cold water
- Cut stem ends from cucumbers
- Cut onion into strips
- Cut garlic cloves in half
- Cut cucumbers into wedges, chips, or spears as desired

- In a measuring cup or jar, dissolve your salt into water for the brine (A clean jar with salt and water can be shaken for a cool technique)
- Place your spices into the jar
- Place your cucumbers, peppers and onion in the jar

- Fill the jar to the shoulder with brine
- Using a chopstick, skewer, or butter knife eliminate any pockets of air trapped by the vegetables
- Add more brine if necessary
- Using a weight of some sort make sure that all of the cucumbers and wayward ingredients are below the waterline of the brine. Some choice are:
- A fermenting weight
- A plastic baggie filled with brine (1 teaspoon for 2 cups of water in case it leaks)
- A clean stone (Yes, you can really use a rock if you wash it)
- A plastic cup cut down to about 3/4 of an inch in height with some holes in it
- -Or- Use my new favorite technique, a plastic, regular-mouth jar lid with holes drilled in it inverted and placed inside a wide-mouth jar


- Top the jar with a lid or cover – This can be done a few ways
- Pickle Pipe or airlock (This is how I do it. It allows CO2 to escape and stops oxygen and mold from getting in)
- Canning ring and lid (This works well but you need to burp or vent the jar a couple of times per day when it is really actively fermenting)
- Cheesecloth or coffee filter and rubber bands (Not how I do it but it is effective)

- Place something under the jar to catch any liquid that may leak out of the vent or when venting/burping
- Store the jar somewhere to ferment at room temperature (I have read that is has to be dark – I don’t think it matters, I have done it both ways)
- After 2-3 days you will be able to observe some changes
- You will notice bubbles
- You will be able to smell a pickled smell when opened
- You may see some sediment at the bottom of the jar (It is beneficial, good yeast and no cause for alarm)
- Allow to ferment until the taste and texture is to your liking
- This can be as little as 6-7 days for some people and 2 weeks for others
- The pickles will continue to get stronger in flavor and the texture will get softer the longer that you allow it to ferment
When it is ready to your taste, place a non-reactive lid on the jar and store it in your refrigerator up to 6 months ( I believe this is possible, mine has never lasted that long due to constant consumption)

- The flavors will continue to develop in the refrigerator, especially the garlic. This is because the fermentation is drastically slowed but not completely stopped. Also, the acid created will continue to pull flavor out of the garlic and peppers and it will flavor the pickles


A spicy pickle and some peppers with a meal (Nom, Nom, Nom!)


Hello There. I discovered your blog the usage of msn.
This is a very smartly written article. I will make sure
to bookmark it and come back to read more of your helpful information.
Thank you for the post. I will definitely return.
Appreciate this post. Will try it out.
It’s a pity you don’t have a donate button! I’d certainly donate to this brilliant
blog! I guess for now I’ll settle for book-marking and adding
your RSS feed to my Google account. I look forward to fresh updates and will share
this blog with my Facebook group. Chat soon!